Maester is a PowerShell-based framework for automating security testing within Microsoft environments, aimed at helping you manage your Microsoft tenant’s security settings effectively. This initiative was developed by Merill Fernando, Faben Bader, and Thomas Naunheim.
In this blog post, I will showcase an easy method for deploying the tool using Terraform. Bare in mind that this is just an easy example and has a lot of possible improvements.
This configuration will allow you to conduct monthly security checks on your Microsoft tenant and receive email notifications about any issues or any other solutions that you want. You can define what to do in the runbook yourself based on the documentation from Maester.
The solution is based on running a runbook in an Automation Account. This is just to enable you to easily get started using this tool. The module can be downloaded from terraform module registry.
The goal of this module was to make it as easy as possible to get started using it. All variables are optional but can be configured if needed.
Example of deployment of the module.
module "maester-deployment" {
  source  = "hlokensgard/maester-deployment/azure"
  version = "~>2.1"
}Folder structure could look like this when calling the module, but you can also configure the path of the measter.ps1 file yourself.
- runbooks
- maester.ps1
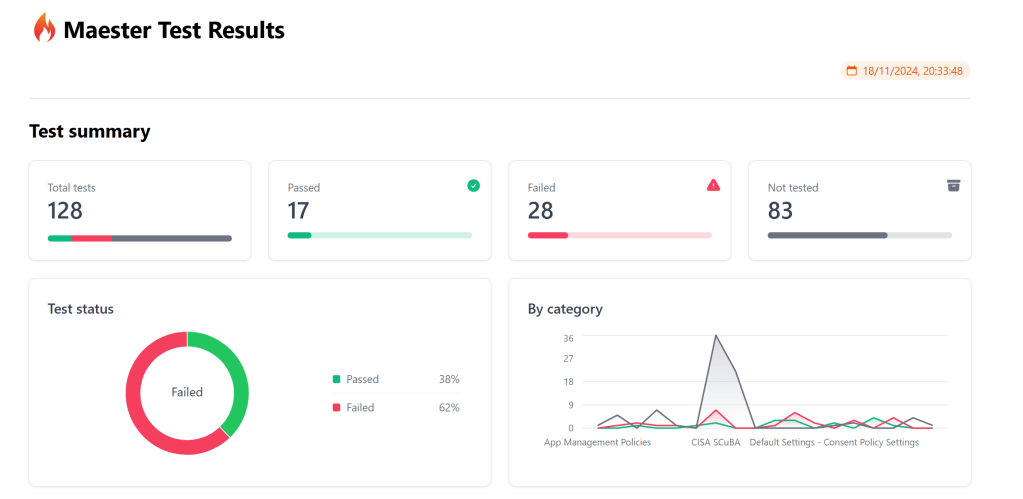
- main.tfDeploying the module with no configuration will deploy an automation account and a web application that shows the Maester report. You can also configure how often this should be updated based on the schedule of the runbook. You can find example of the script that is needed to run Maester to deploy it to the web application here.
if ($EnableWebApp -eq "true") {
    try {
        Write-Output "EnableWebApp is true, running Maester for HTML page"
        Invoke-Maester -OutputHtmlFile "$TempOutputFolder\index.html"

        # Create the zip file
        Compress-Archive -Path "$TempOutputFolder\*" -DestinationPath $FileName

        # Connect Az Account using MI
        Connect-AzAccount -Identity

        # Publish to Azure Web App
        Write-Output "Publishing to Azure Web App"
        Publish-AzWebApp -ResourceGroupName $ResourceGroupName -Name $AppServiceName -ArchivePath $FileName -Force
        Write-Output "Published to Azure Web App"
    } catch {
        Write-Output "Failed to publish to Azure Web App"
        Write-Output $_
    }
}
Further improvements are listed in the ReadMe on GitHub.

Legg igjen en kommentar